REVIEW · TROMSO
Tromsø: Cross Country Guided Skiing Course
Book on GetYourGuide →Operated by Tromsø Adventures AS · Bookable on GetYourGuide
Snow, skis, and fjord views in Tromsø. I love the blue hour fjord and mountain views that make every awkward beginner moment feel worth it, and I especially love the patient coaching from guides like Tuva and Elias (English instruction, clear steps, and plenty of time to reset when your balance betrays you).
One thing to think about before you book: logistics and pace are on you. The meeting point is Charlottenlund Aktivitetspark, and transportation to/from Tromsø isn’t included, plus the group often works at the speed of the slowest learners.
In This Review
- Key things that make this course work
- Langrenn in Tromsø: why this feels so local
- Meeting at Charlottenlund Aktivitetspark: what to plan and what’s provided
- The route starts with Tromsøya: photo stop, wildlife, and first technique
- Prestvannet Lake break: where the lesson resets
- Back on Tromsøya: blue hour timing with more practice
- The instructors: patient teaching that actually matches your pace
- Price and value: is $99 fair for what you get?
- What to pack so you don’t spend the whole time cold
- Who this course fits, and who should skip it
- A quick reality check on the timing and stops
- Should you book the Tromsø cross-country skiing course?
- FAQ
- Where is the meeting point for the course?
- How do I get there by public transport?
- Where do I start if I’m driving?
- How long is the course?
- What does the $99 per person include?
- What should I wear for cross-country skiing?
- Do I need to bring ski equipment?
- What languages are the guides?
- Is this course suitable for children?
- Is the activity suitable if I have altitude sickness?
Key things that make this course work
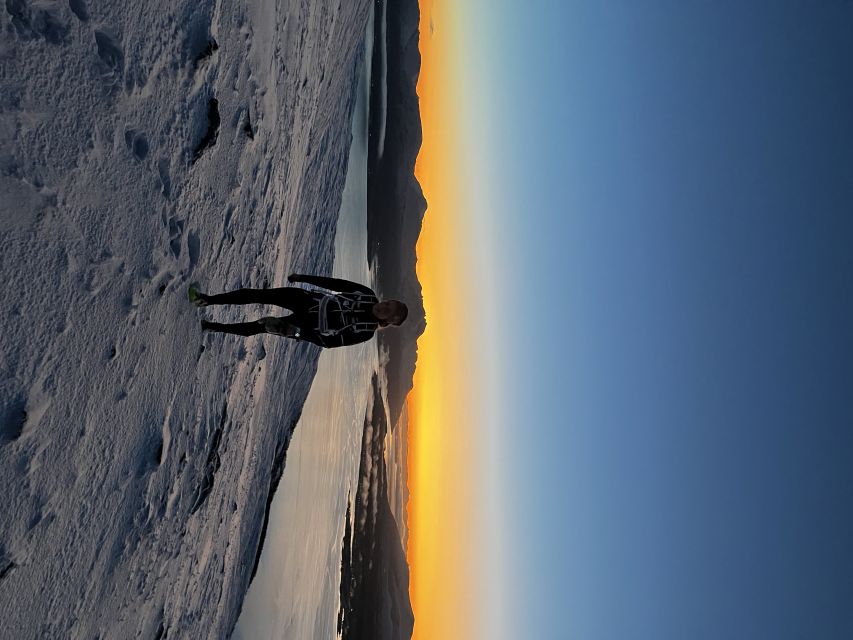
- Langrenn basics taught step-by-step so you’re not just “pushed onto skis” and hoped for the best
- Blue hour views with photo stops and breaks timed for Tromsø’s most magical light
- Multiple guides for mixed abilities, which matters when you’ve got both fast learners and careful beginners
- Warm drink + Norwegian sweets to take the edge off and keep energy up
- Gear included, with shoe sizes accommodated up to size 47
Langrenn in Tromsø: why this feels so local
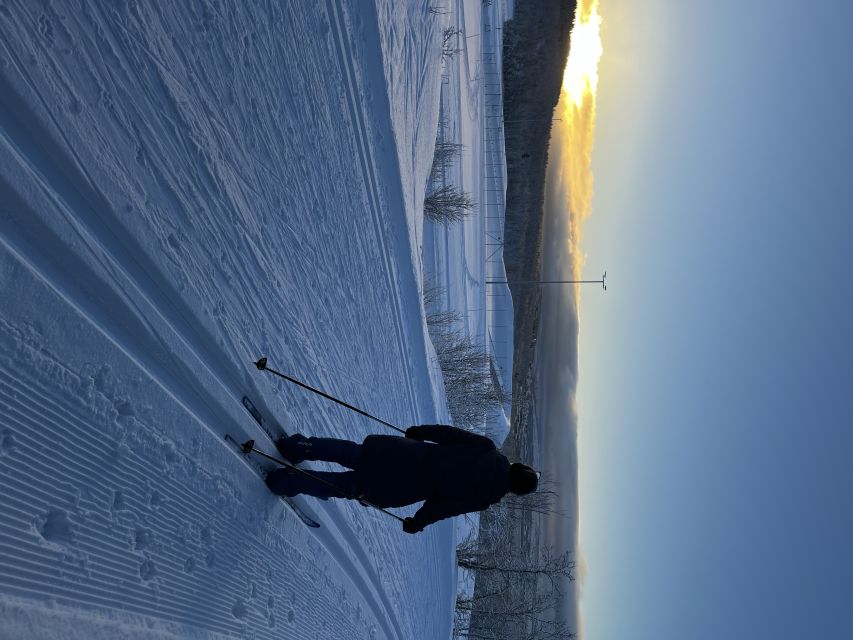
Cross-country skiing in Norway is not a novelty. It’s daily winter movement for a lot of people—quiet, practical, and deeply normal. That’s why this course stands out as more than a tourist activity: you learn the rhythm of langrenn, not just how to avoid falling for 10 minutes.
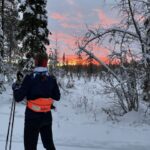
Tromsø adds another layer. You’re out on snowy trails with views toward mountains and fjords, and the light can shift from flat daylight to that electric blue hour glow. Even if you’re a first-timer, the scenery gives you something to aim for while you practice.
You can also read our reviews of more tours and experiences in Tromso.

Meeting at Charlottenlund Aktivitetspark: what to plan and what’s provided
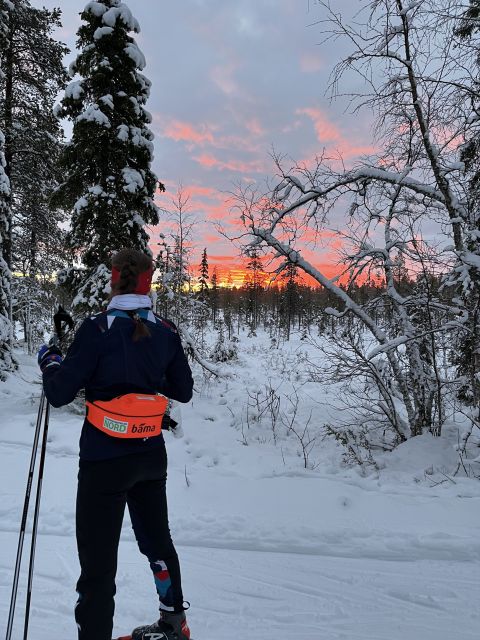
You’ll gather at the Charlottenlund Aktivitetspark parking area. The directions are pretty straightforward: free parking if you’re driving, or take bus 26 to the Skoglyst stop and walk the short remaining distance.
You don’t need to rent anything on your own. The course provides skis, poles, and boots for everyone, but you do need to tell them your shoe size in advance—up to size 47. That one detail helps the lesson move smoothly once you arrive.
Also plan for the cold like a grown-up. Bring a warm hat and gloves (not just “nice-to-have” warm layers). A waterproof outer layer and warm socks matter because you’ll be standing around for short breaks and photo stops as well as moving.
The route starts with Tromsøya: photo stop, wildlife, and first technique
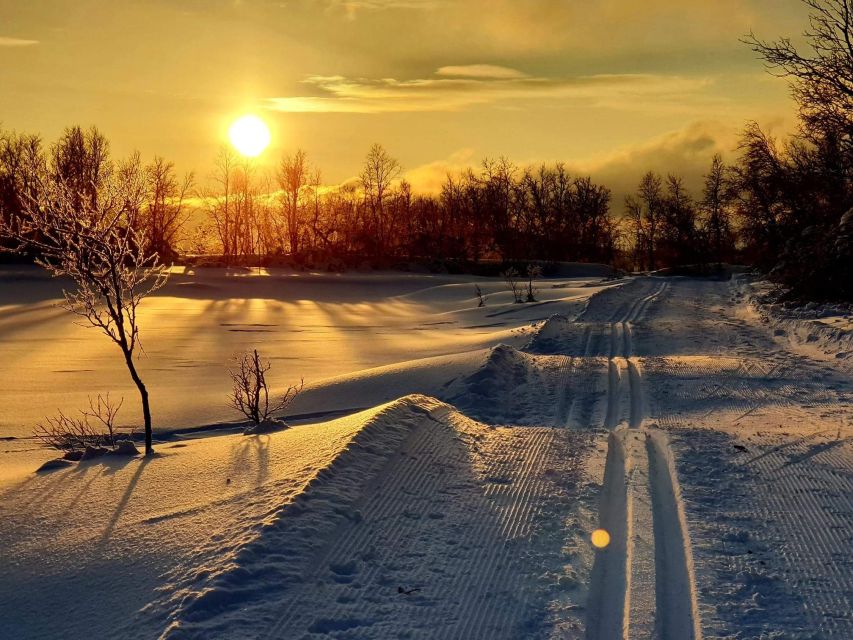
The first big chunk happens around Tromsøya, including a guided tour and a photo stop plus wildlife viewing time (about 75 minutes total in this phase). This is a smart setup: before you feel fully “in control,” you’re gaining familiarity with the snow under your skis.
Expect the instructor to focus on the fundamentals: balancing, gliding, and how your body should move as you shift weight. Beginners often think the challenge is strength. It’s really coordination and timing—learning what to do with your arms, poles, and legs as one system.
If you’ve never skied before, you’ll likely take a few tumbles. That’s normal here. The best part is that you’re learning while you’re still near the start area, not far out where you’d feel stuck. From what I’ve seen in how guides work on this course, the instructors keep you moving but don’t rush you past your current level.
Prestvannet Lake break: where the lesson resets
After the first Tromsøya segment, you get a break at Prestvannet Lake (about 15 minutes). This pause isn’t just downtime. It’s what lets your technique click. Your legs cool off a bit, your breathing settles, and you get ready for the next set of practice and scenery.
This is also where the cozy side shows up. The course includes a warm drink—listed as todd y—plus sweet Norwegian snacks. It’s the kind of small, practical treat that keeps motivation from sliding when the cold starts to feel personal.
One caution: the lake area can still feel exposed. Keep your hat and gloves on, even when you’re standing still for the drink and photos.
Back on Tromsøya: blue hour timing with more practice
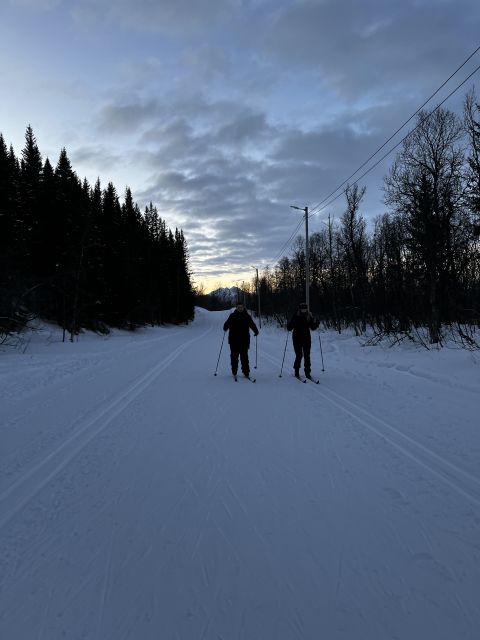
The final stretch brings you back toward Tromsøya with another guidance block (about 1 hour), including breaks and photo stops. This portion is built for the light—timed around sunset and sunrise so you get that magical view as the sky changes color.
Here’s what you’ll likely notice: once you’re past the first clumsy stage, cross-country skiing becomes less about surviving and more about flow. You start to glide longer, pole plants feel less random, and turning becomes less of a mystery.
This part of the route is also a good moment to ask your guide questions. If you want a simple fix—like how to distribute weight during a glide or how to use poles for stability—this is when it’s most useful, because you’ll have enough time left to try the adjustment immediately.
The instructors: patient teaching that actually matches your pace
Most people judge a ski course by how it feels after 10 minutes. This one tends to feel good quickly because the instruction is practical and calm.
Guides like Sissel have been praised for being easy to contact ahead of time, answering questions, and helping families feel prepared—especially when kids are involved. On the day, names like Elias, Tuva, Ellen, Elen, and Ine come up repeatedly for clear instruction and patience.
A big win: the course seems to work with mixed abilities rather than pretending everyone learns at the same speed. More than one guide/instructor is often used, and that means someone can stay close while you build confidence. That closeness matters because cross-country skiing isn’t like walking—it has “feedback loops.” When your technique changes, you learn fast, but you also need quick reminders.
If you want photos or video, ask. Several experiences mention guides taking action shots and making it easy to capture the moment without you needing to be the camerawork expert.
Price and value: is $99 fair for what you get?
At $99 per person for about 2.5 hours, you’re paying for more than trail access. You’re paying for:
- Skis, poles, and boots
- An instructor and guide
- Time for actual practice (not just a scenic walk)
- A warm drink and local sweets
In Tromsø, winter activities can stack up fast. What makes this value feel stronger is that the lesson structure covers both technique and experience: you’re not just sightseeing in ski gear, and you’re not just learning in a parking-lot demo.
That said, it’s still a paid skill experience. You won’t magically become smooth in one session, and the cold does demand the right clothing. If you show up underdressed, you’ll feel it quickly.
Also keep expectations realistic: one review noted it can be challenging if you move slower than others, since the group may ride along your pace. The positive side is that you usually still get time to practice and improve, but don’t plan for an intense “only-fast-skier” workout.
What to pack so you don’t spend the whole time cold
The course gives equipment, but it won’t magically warm your hands and feet. Your clothing is the difference between fun and frustration.
Bring:
- Warm socks
- Gloves (real winter gloves, not thin fall ones)
- A warm hat
- A waterproof outer layer
- Layers you can adjust while you warm up
If you have extra winter clothing layers, that’s great. The course notes that additional layers like jackets, pants, gloves, or hats aren’t included, so you’ll need your own system for staying comfortable.
And one small-but-important planning point: tell the provider your shoe size early so they can fit you properly (up to size 47).
Who this course fits, and who should skip it
This is a friendly option for beginners, including first-timers who don’t know how classic cross-country skiing works. The repeated theme is clear: you get instruction, practice time, and help with technique.
It’s especially good if you’re traveling with family or friends, since it can handle different abilities in the same group. Several experiences specifically highlight patience with kids, even when children need extra understanding and slower pacing.
But it’s not for everyone. It’s not suitable for:
- Children under 7 years
- People with altitude sickness
- People over 80 years
- Babies under 1 year
If you’re outside that range, you’ll want to think through your comfort with cold outdoor movement. Cross-country skiing is also a real workout, so if you’re dealing with injuries or balance issues, be honest with yourself.
A quick reality check on the timing and stops
The lesson is designed around short teaching blocks plus breaks that help you enjoy the view without burning out. In practice, you’ll spend time:
- learning and practicing on the way
- stopping for photos
- taking a warmer break near the lake
The route also includes wildlife viewing time. That’s a bonus if you like spotting movement and don’t mind pausing while nature does its thing.
One more practical note: the exact location and trail details can vary day to day depending on conditions. That’s normal in winter, and the experience is still built around the same learning flow and scenic goals.
Should you book the Tromsø cross-country skiing course?
Book it if you want an authentic winter skill with real scenery, and you’d rather learn from an instructor than guess your way through your first set of poles. The combination of langrenn instruction, warm drink + Norwegian sweets, and blue hour fjord/mountain views makes this a strong use of a half-day.
Skip it if you can’t handle outdoor cold comfortably, if your group member falls into the stated age/condition limits, or if you strongly need door-to-door transportation (the course doesn’t include getting to and from Tromsø).
If you’re a first-timer, don’t overthink it. Come dressed for the weather, tell them your shoe size, and let the guides teach you one movement at a time. That’s the whole point—and it’s how you end the session feeling proud instead of just exhausted.
FAQ
Where is the meeting point for the course?
The group meets at the Charlottenlund Aktivitetspark parking area in Tromsø.
How do I get there by public transport?
Take bus number 26 from Tromsø city centre to the Skoglyst stop, then walk a short distance to the meeting point.
Where do I start if I’m driving?
There is free parking at Charlottenlund Aktivitetspark, and you’ll meet near that parking area.
How long is the course?
It runs about 2.5 to 3 hours.
What does the $99 per person include?
It includes skis, poles, and shoes, plus an instructor/guide and a warm drink with local sweets.
What should I wear for cross-country skiing?
Dress in layers, including a waterproof outer layer. Bring gloves, a hat, and warm socks.
Do I need to bring ski equipment?
No. Skis, poles, and boots are provided. You should inform them of your shoe size in advance (up to size 47).
What languages are the guides?
The guide speaks English and Norwegian.
Is this course suitable for children?
It’s not suitable for children under 7 years.
Is the activity suitable if I have altitude sickness?
No. It is listed as not suitable for people with altitude sickness.