REVIEW · WHISTLER
Whistler Intro to Backcountry Skiing and Splitboarding
Book on Viator →Operated by Mountain Skills Academy & Adventures · Bookable on Viator
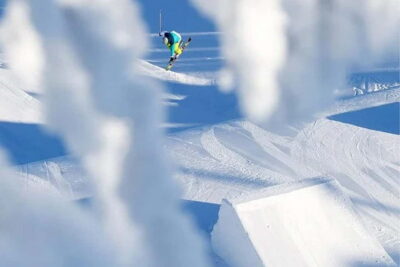
Cold snow, good guidance, fresh lines. This Whistler backcountry intro turns a normal ski day into a lesson in backcountry safety and smart movement off the busy runs. You’ll head out just beyond the resort boundary on skis or a splitboard, aiming for untracked snow without pretending this is a beginner playground.
What I really like is the small-group setup, capped at max 6 travelers per guide. That means you’re not just tagging along in a crowd; you get coaching that fits your level and keeps the day controlled. The other big win is that you’re improving too, not only touring—this is meant to help you ski or board better while learning how to stay safe in the backcountry.
One consideration: it’s not for true beginners. All participants must be strong blue/intermediate skiers or snowboarders, with moderate fitness, and there’s no mention of beginner-friendly gear or instruction beyond the backcountry basics.
In This Review
- Key things that make this Whistler backcountry intro worth it
- Why this intro tour starts with backcountry safety basics
- Small group size: what max 6 travelers really changes
- The Whistler meeting point and start time you should plan around
- Your day plan outside Whistler Blackcomb (and what to expect)
- Skills you’ll practice if you’re strong blue/intermediate
- Gear and food: what’s not included (so you’re not caught off guard)
- Price and value: is $164.10 a fair deal for 6–8 hours?
- Who should book this Whistler backcountry skiing or splitboarding tour
- Who should skip (or book a different step first)
- Should you book it? My practical recommendation
- FAQ
- How long is the Whistler intro to backcountry skiing and splitboarding tour?
- What time does the tour start?
- Where is the meeting point?
- Is there hotel pick-up included?
- What level do I need to join?
- What’s the maximum group size?
- Is rental gear included?
- Is lunch or snacks provided?
- Is avalanche safety gear included?
- Does the tour run in bad weather?
- Is the booking refundable if I cancel?
Key things that make this Whistler backcountry intro worth it
- Backcountry safety basics from an experienced guide (including practical advice on staying safe)
- Small-group coaching with a maximum of 6 travelers per guide
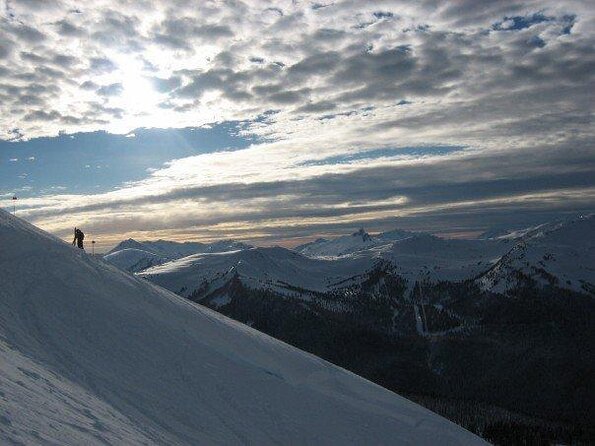
- Off-slope snow just outside Whistler Blackcomb, away from the busiest areas
- Skis or splitboarding options so you can match your setup
- Long on-snow time (about 6–8 hours) for a real practice day, not a quick demo
Why this intro tour starts with backcountry safety basics
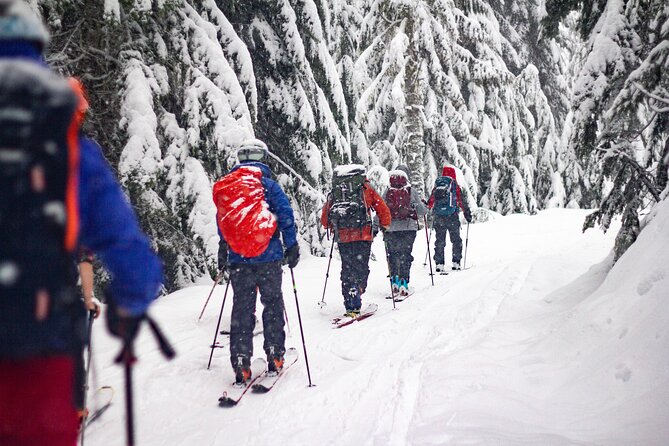
Whistler’s got world-class resort skiing, but the moment you leave the crowds, you’re in a different world. This tour is built around learning backcountry safety basics with a professional guide leading the way. That matters because backcountry mistakes are usually not dramatic movie-style errors. They’re small decisions that add up—route choice, awareness, and how you move when it’s quieter and less tracked.
The best part is that the safety lesson isn’t floating in the air as theory. You’re on snow, exploring the backcountry just outside the ski resort, while the guide helps you connect what you’ve learned to what’s in front of you. One review summary repeatedly praised the guide for clearly explaining how to keep safe in the backcountry, and the name Phil came up. That’s the kind of guidance that helps you feel steadier, not scared or confused.
Just keep your expectations realistic. This is an intro, but it’s still a backcountry day, not a casual snow walk. If you’re new to off-piste travel, the “basics” are exactly that—foundations—so you should feel ready to follow instructions and move with purpose.
You can also read our reviews of more tours and experiences in Whistler.
Small group size: what max 6 travelers really changes
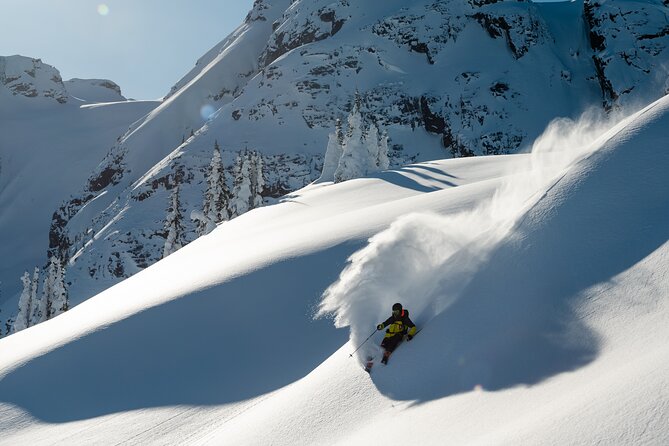
With a maximum of 6 travelers per guide, your day is likely to feel more like coaching than group tourism. On a typical busy ski day, you might spend more time navigating other people than improving your own turns. Here, the guide can watch you more closely, spot issues sooner, and adjust the pace.
That’s especially useful in a mixed setup day where you might be on skis or on a splitboard. Even if everyone is intermediate, skis and splitboards can behave differently on uneven snow, and your stance needs slightly different habits. A smaller group makes it easier for the guide to keep everyone thinking the same safety and terrain priorities.
I also like that the tour is designed for “individual focus.” In practice, that usually means you spend less time waiting around and more time on the plan: exploring, learning, and applying what you hear from the guide.
The Whistler meeting point and start time you should plan around
This tour starts at 8:30 am at RMU Whistler, Plaza Level, Upper Village (Le Chamois Hotel area). The exact address is 113-4557 Blackcomb Way, Whistler, BC V8E 0Y2. The activity ends back at the same meeting point.
A couple practical notes that matter for your day:
- There’s no hotel pick-up listed, so you’ll want to get yourself there early and calm.
- You’ll have a mobile ticket, but you still need to be on time. Backcountry outings don’t run on “we’ll figure it out later” energy.
If you’re driving, the details say parking lot fees are not included. So if you’re bringing a car, plan on paying for parking separately rather than assuming it’s bundled.
Your day plan outside Whistler Blackcomb (and what to expect)
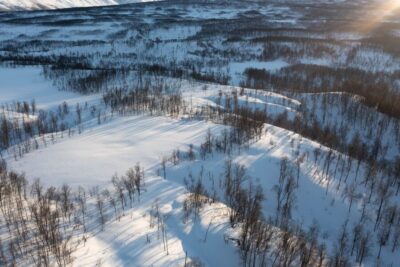
The core itinerary is straightforward: you’ll go out with your guide and explore the backcountry just outside the Whistler Blackcomb area on skis and snowboards. This is about getting a taste of fresh snow away from the crowds, not chasing a distant expedition.
The schedule shows about 7 hours for the main stop, and the overall tour duration is listed as approximately 6 to 8 hours. That length is a real advantage because it gives time for:
- a warm-up on easier snow,
- practicing movement and decision-making as conditions change,
- and still having a meaningful chunk of the day for off-tracked turns.
One subtle benefit of this kind of “near resort” backcountry approach: you can focus on learning and technique without feeling like you’re rushed through the first hour. You’re also likely to feel more confident if you already know the general Whistler terrain style, since you’re not starting from scratch in an unfamiliar region.
Potential drawback: since the tour goes in all weather conditions, you’re going to dress for real mountain days. If you show up in the wrong layers, even a good guide can’t fix your comfort level.
Skills you’ll practice if you’re strong blue/intermediate
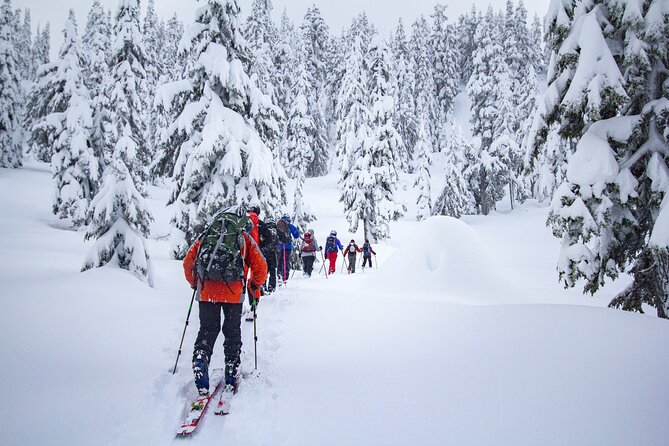
The tour requires all participants to be strong blue/intermediate skiers or snowboarders. That’s a key filter, and it tells you what kind of coaching to expect. You’re not being graded as an expert athlete, but you should be comfortable handling intermediate terrain and being in motion for hours.
The tour also explicitly says it’s designed to improve your skiing or snowboarding while teaching backcountry safety basics. That combination is exactly what you want if your goal is to feel more capable off the resort, not just add one more day of turns.
What I’d be ready for on the coaching side is less about learning brand-new trick skills and more about tightening your fundamentals for backcountry snow: control, awareness, and staying efficient when visibility or snow texture changes. The safety component also tends to reinforce how you move—how you space yourself, how you react to conditions, and how you listen and adjust.
If you’re a splitboarder: you can still join, since the tour mentions splitboarding gear is part of the rental category and the experience is meant for both skiing and splitboarding setups. Just confirm you have the right equipment arranged in advance (because rentals are not included).
Gear and food: what’s not included (so you’re not caught off guard)
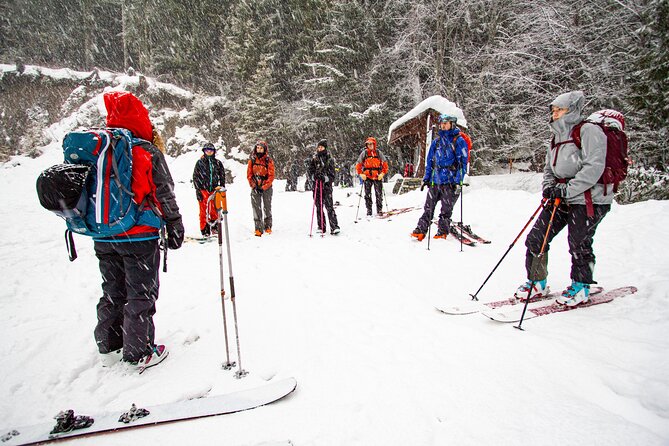
Here’s the practical reality: guided tour and professional guide are included, but a bunch of day-saver items are not.
Not included:
- Rental gear (skis or splitboard, boots, poles, backpack, etc.)
- Lunch, snacks, beverages
- Gratuity/tip for your guide
- Hotel pick-up
- Parking lot fees
- Avalanche safety gear is not listed as included, though it can be rented
So before you book, plan your logistics like a pro:
- If you don’t already have backcountry-capable gear, arrange rentals early. The tour name includes splitboarding and skiing, so make sure your rental shop knows you need the right setup for a backcountry day.
- Bring your own food (or plan to buy). Six to eight hours is long enough that hunger will quietly trash your focus and your control.
- If you’re missing avalanche safety gear, confirm rental options since the info says it can be rented. Don’t wait until the morning to figure that out.
One more thing: the tour operates in all weather conditions. That means your clothing and comfort kit aren’t optional extras. Bring layers that stay warm and dry enough for hours, plus you’ll want gloves and headwear you can trust in real snowfall.
Price and value: is $164.10 a fair deal for 6–8 hours?
At $164.10 per person, this tour sits in a reasonable zone for a guided half-day experience in a top resort area—especially because:
- the guide is included,
- the group size is capped at a max of 6 travelers per guide,
- and you’re getting time on snow plus safety instruction.
But value isn’t just the ticket. Two big “cost add-ons” can change the final bill:
1) Rental gear is not included. If you need skis/splitboard/boots/poles/backpack, that can be your biggest extra expense.
2) Food is not included. Lunch and snacks are on you.
If you already have your gear and you pack a proper lunch, the $164.10 price looks sharper. If you need rentals and you’re also buying food, the total cost can creep up quickly. Still, for many intermediate skiers and snowboarders, the benefit is real: you’re paying for a guide to teach backcountry safety basics while you practice turns off the resort.
Also remember: the tour is non-refundable and can’t be changed for any reason. So only book if you’re confident you’ll be able to go, even if weather shifts.
Who should book this Whistler backcountry skiing or splitboarding tour
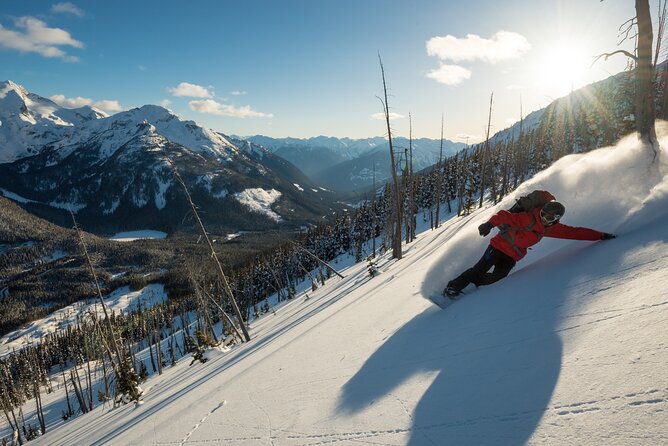
This is a strong match if you:
- ski or ride at the strong blue/intermediate level,
- can handle a full day of active snow (moderate fitness required),
- want off-tracked snow without aiming for a far-flung expedition,
- like the idea of a guided day where safety gets taught, not skipped.
It’s also a good option if you feel ready for backcountry travel in general, but you want structure and someone experienced to help you make safer choices. The repeated praise for Phil’s safety explanations is a good hint that the guide communication style is a real part of the value.
Who should skip (or book a different step first)
Skip this one if you:
- are closer to beginner level than “strong blue/intermediate” (the tour requires it),
- don’t have the fitness for hours on snow,
- expect the tour to provide lunch, snacks, or your rental gear,
- want a flexible plan that’s easy to reschedule.
The non-included gear and food are not dealbreakers, but they are real planning items. If that sounds like a hassle, you’ll probably enjoy a different kind of guided day with gear and meals bundled.
Also, consider whether you’re ready for all-weather operation. The guide can keep the group moving, but you’re still responsible for dressing correctly.
Should you book it? My practical recommendation
Book this tour if you’re an intermediate skier or snowboarder who wants to learn backcountry safety basics and get away from the busy slopes near Whistler Blackcomb. The small-group size, the guide-led safety focus, and the promise of untracked snow are exactly the combo that helps people take the next step with more confidence.
Don’t book it if you’re still working on turning control at basic levels, or if you don’t want to handle gear rentals and your own food. Also, since the experience is non-refundable, make sure your calendar is locked.
If you’re on the fence, here’s the simplest decision rule: if you can comfortably handle intermediate terrain and you’re willing to prepare properly for a full morning-to-afternoon backcountry outing, this is a smart, guided way to get your first taste of the backcountry.
FAQ
How long is the Whistler intro to backcountry skiing and splitboarding tour?
The tour runs about 6 to 8 hours (approximately). The main backcountry stop is listed at around 7 hours.
What time does the tour start?
The start time is 8:30 am.
Where is the meeting point?
Meet at RMU Whistler, 113-4557 Blackcomb Way, Le Chamois Hotel area, Plaza Level, Upper Village, Whistler, BC V8E 0Y2.
Is there hotel pick-up included?
No, hotel pick-up is not included.
What level do I need to join?
You must be a strong blue/intermediate level skier or snowboarder.
What’s the maximum group size?
The maximum is 6 travelers per guide.
Is rental gear included?
No. Rental gear for skis or splitboard, boots, poles, and backpack is not included.
Is lunch or snacks provided?
No. Lunch, snacks, and beverages are not included.
Is avalanche safety gear included?
Avalanche safety gear is not included, but it can be rented.
Does the tour run in bad weather?
Yes. It operates in all weather conditions, so dress appropriately.
Is the booking refundable if I cancel?
No. The experience is non-refundable and cannot be changed for any reason.